By Like A Boss
First make sure your java is updated, of course only get java updates in their official website java.com
Ok so first step is to download the NBA2KX Mod Tool (2K12 Supported)
Extract its contents in a folder of your choice
Once it is finished extracting in the folder of your choice open the .jar file

When it ask what Version would you like choose 2K12 (FOR NOW)
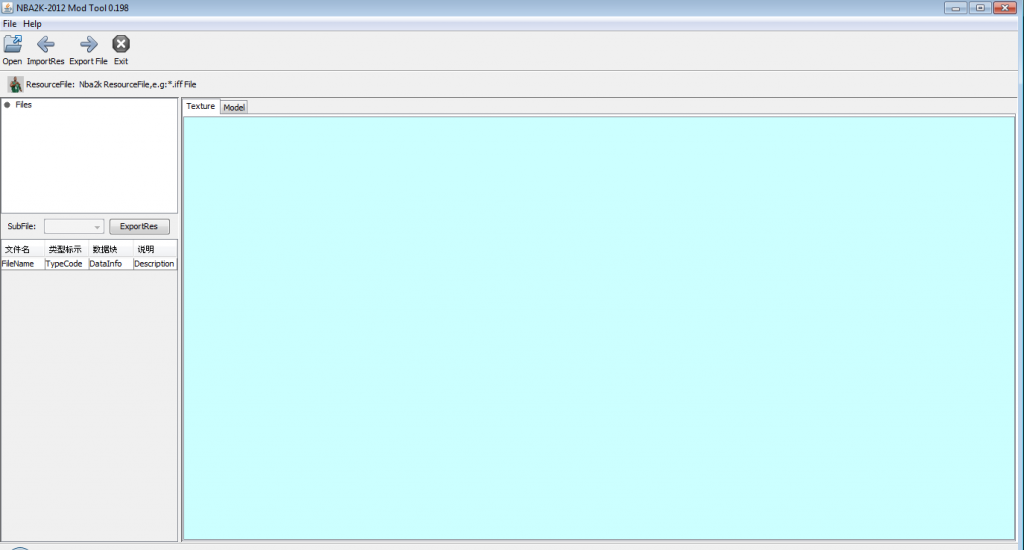
Then here is what the tool looks like
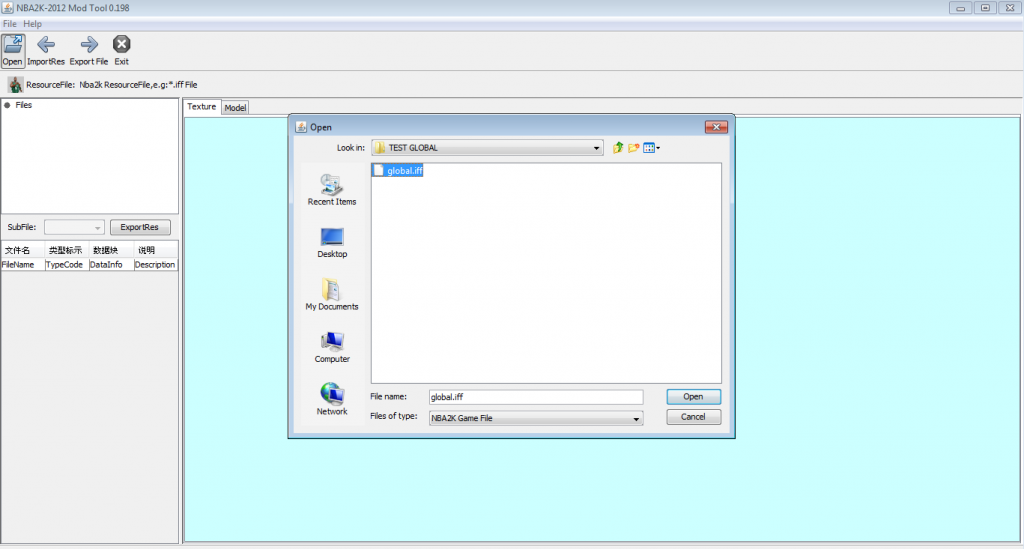
Now let us open some files click the open button on the top left and browse where you saved the .iff file you are about to edit
If your lost and don't know what that file means refer to this
viewtopic.php?f=150&t=88186
Depending on the file, it may be decompressed or compressed. You need to decompress the file, if a pop-up says that the file is compressed just click yes
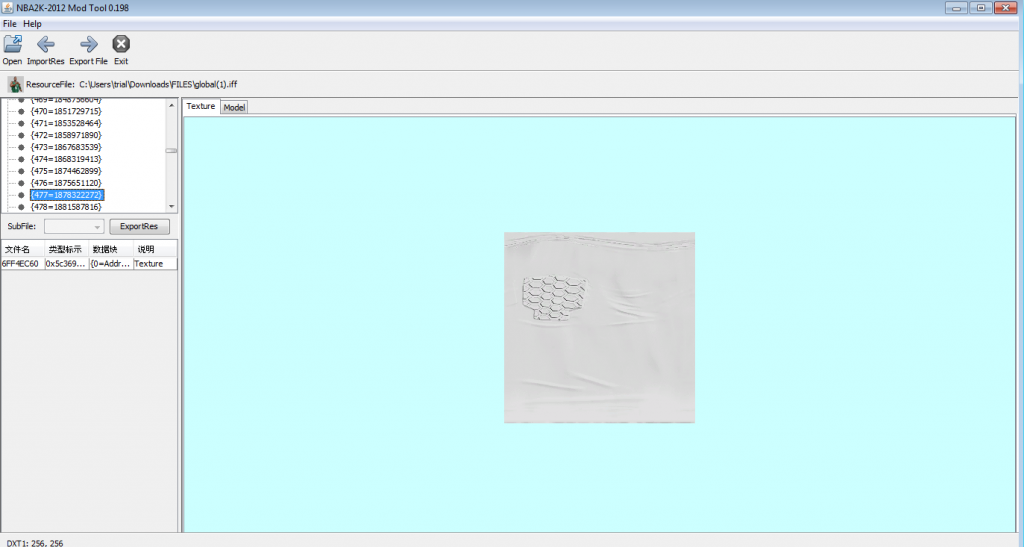
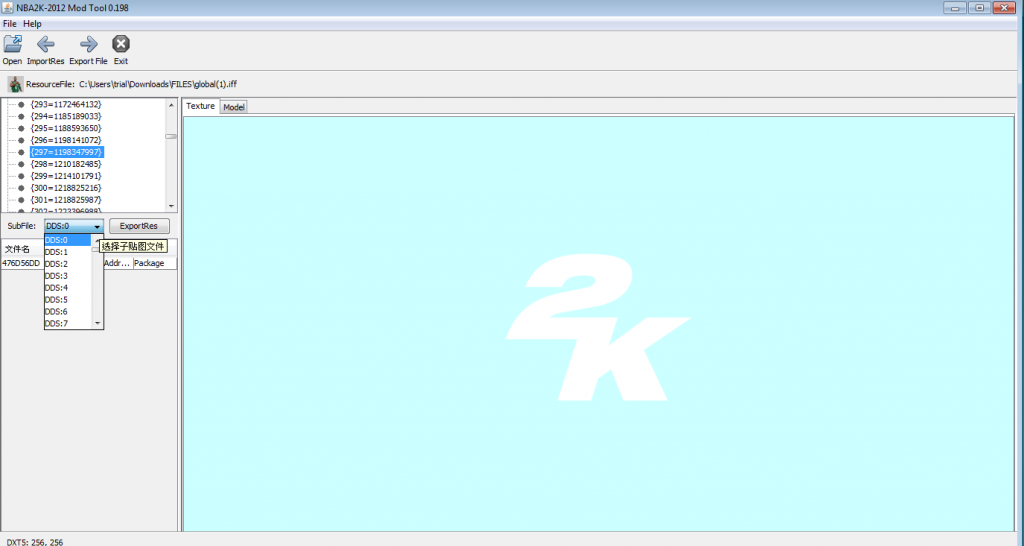
In the left panel you can see numbers, it represents the textures that are inside the file. Choose which one will you edit in that area.
Also on the bottom left corner describes the DDS you have selected. It shows the Compression and the size of the DDS. (In my sample the Compression is DXT1 with a width of 256 and a height of 256)
IMPORTANT - If you are replacing a texture you should replace it with the same width & Height and also the compression must be the same also
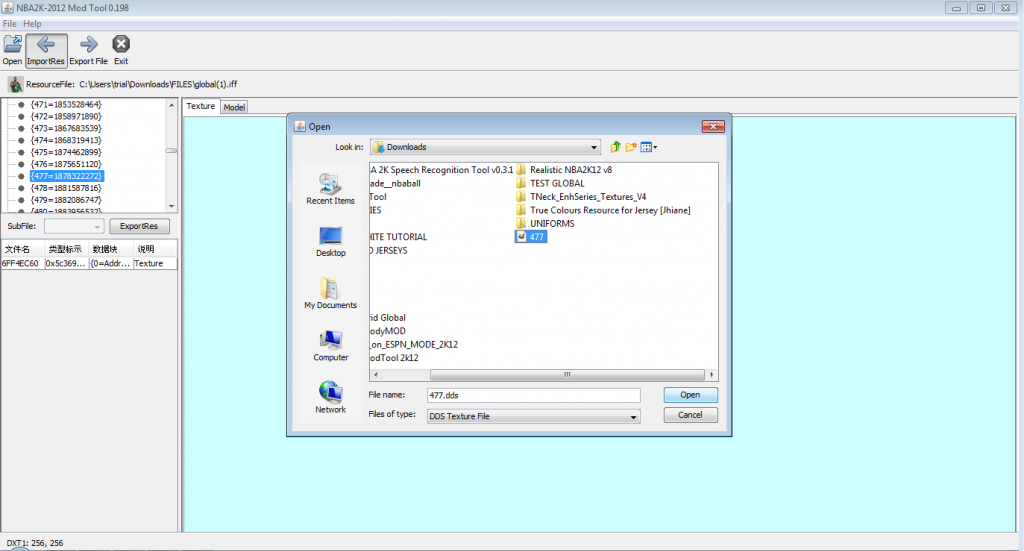
If you are done editing the DDS or have created a DDS to replace that texture click the Import Res button (near the Open Button) to import back the texture into the IFF File. The Mod Tool automatically changes the file.. meaning it has an auto-save feature.
Quit the program and there we go we are done
But WAIT! There is one more thing I forgot to tell. some textures have some sub-textures like this one... you can access that by clicking the drop-down menu near the SubFile word.